Introduction
In a previous post we discussed depth of focus and the difficulties obtaining good focus with fast optical systems. In this post we’ll discuss a solution to the problem, the Feather Touch 10:1 focuser for the Celestron CPC 1100 GPS telescope.
We’ll briefly review the challenge of focusing fast telescopes and then describe how the Feather Touch 10:1 focuser will help. We’ll conclude with the installation of the focuser on a CPC 1100.
Review
In a previous post we derived three equations for depth of focus and presented a table illustrating the depth of focus for various f-numbers. This table is included below for convenience.
| f-number | Actual | Approximate | Ideal |
|---|---|---|---|
| 2 | 10.20 | 10.53 | 10.74 |
| 3 | 23.37 | 23.70 | 24.16 |
| 4 | 41.81 | 42.14 | 42.94 |
| 5 | 65.51 | 65.84 | 67.10 |
| 6 | 94.48 | 94.81 | 96.62 |
| 7 | 128.71 | 129.04 | 131.52 |
| 8 | 168.21 | 168.54 | 171.78 |
| 9 | 212.98 | 213.31 | 217.40 |
| 10 | 263.02 | 263.35 | 268.40 |
The most important conclusion that can be drawn from this data, for the discussion at hand, is that fast telescopes, such as those operating at f/2, have very narrow depth of focus. For example, an f/10 system has a depth of focus of approximately 263 microns, while an f/2 system’s depth of focus is only about 10.5 microns. These figures are for seeing disks with a diameter equal to the diameter of the Airy disk. In great seeing conditions where the seeing disk might be 2″, these figures would increase to approximately 543 microns and 21 microns respectively.
Clearly, for fast telescopes, such as those operating at f/2, the depth of focus is very narrow. These tight tolerances may make focusing these systems a challenge.
My Application
As previously mentioned, at f/10 in ideal seeing, the depth of focus is 263 microns while at f/2 this is reduced by 25x, resulting in a narrow band of only 10.5 microns. However, with diminished viewing and larger seeing disks these numbers will grow. The application that spawned this investigation was astrophotography with a Celestron CPC 1100 GPS in its f/2 configuration. The question that started it all was, is the standard focuser on the CPC 1100 adequate to deal with these tight tolerances. We know how fine the focusing must be. In this section we’ll determine whether the standard focuser is up to the task or whether we need to look at other options.
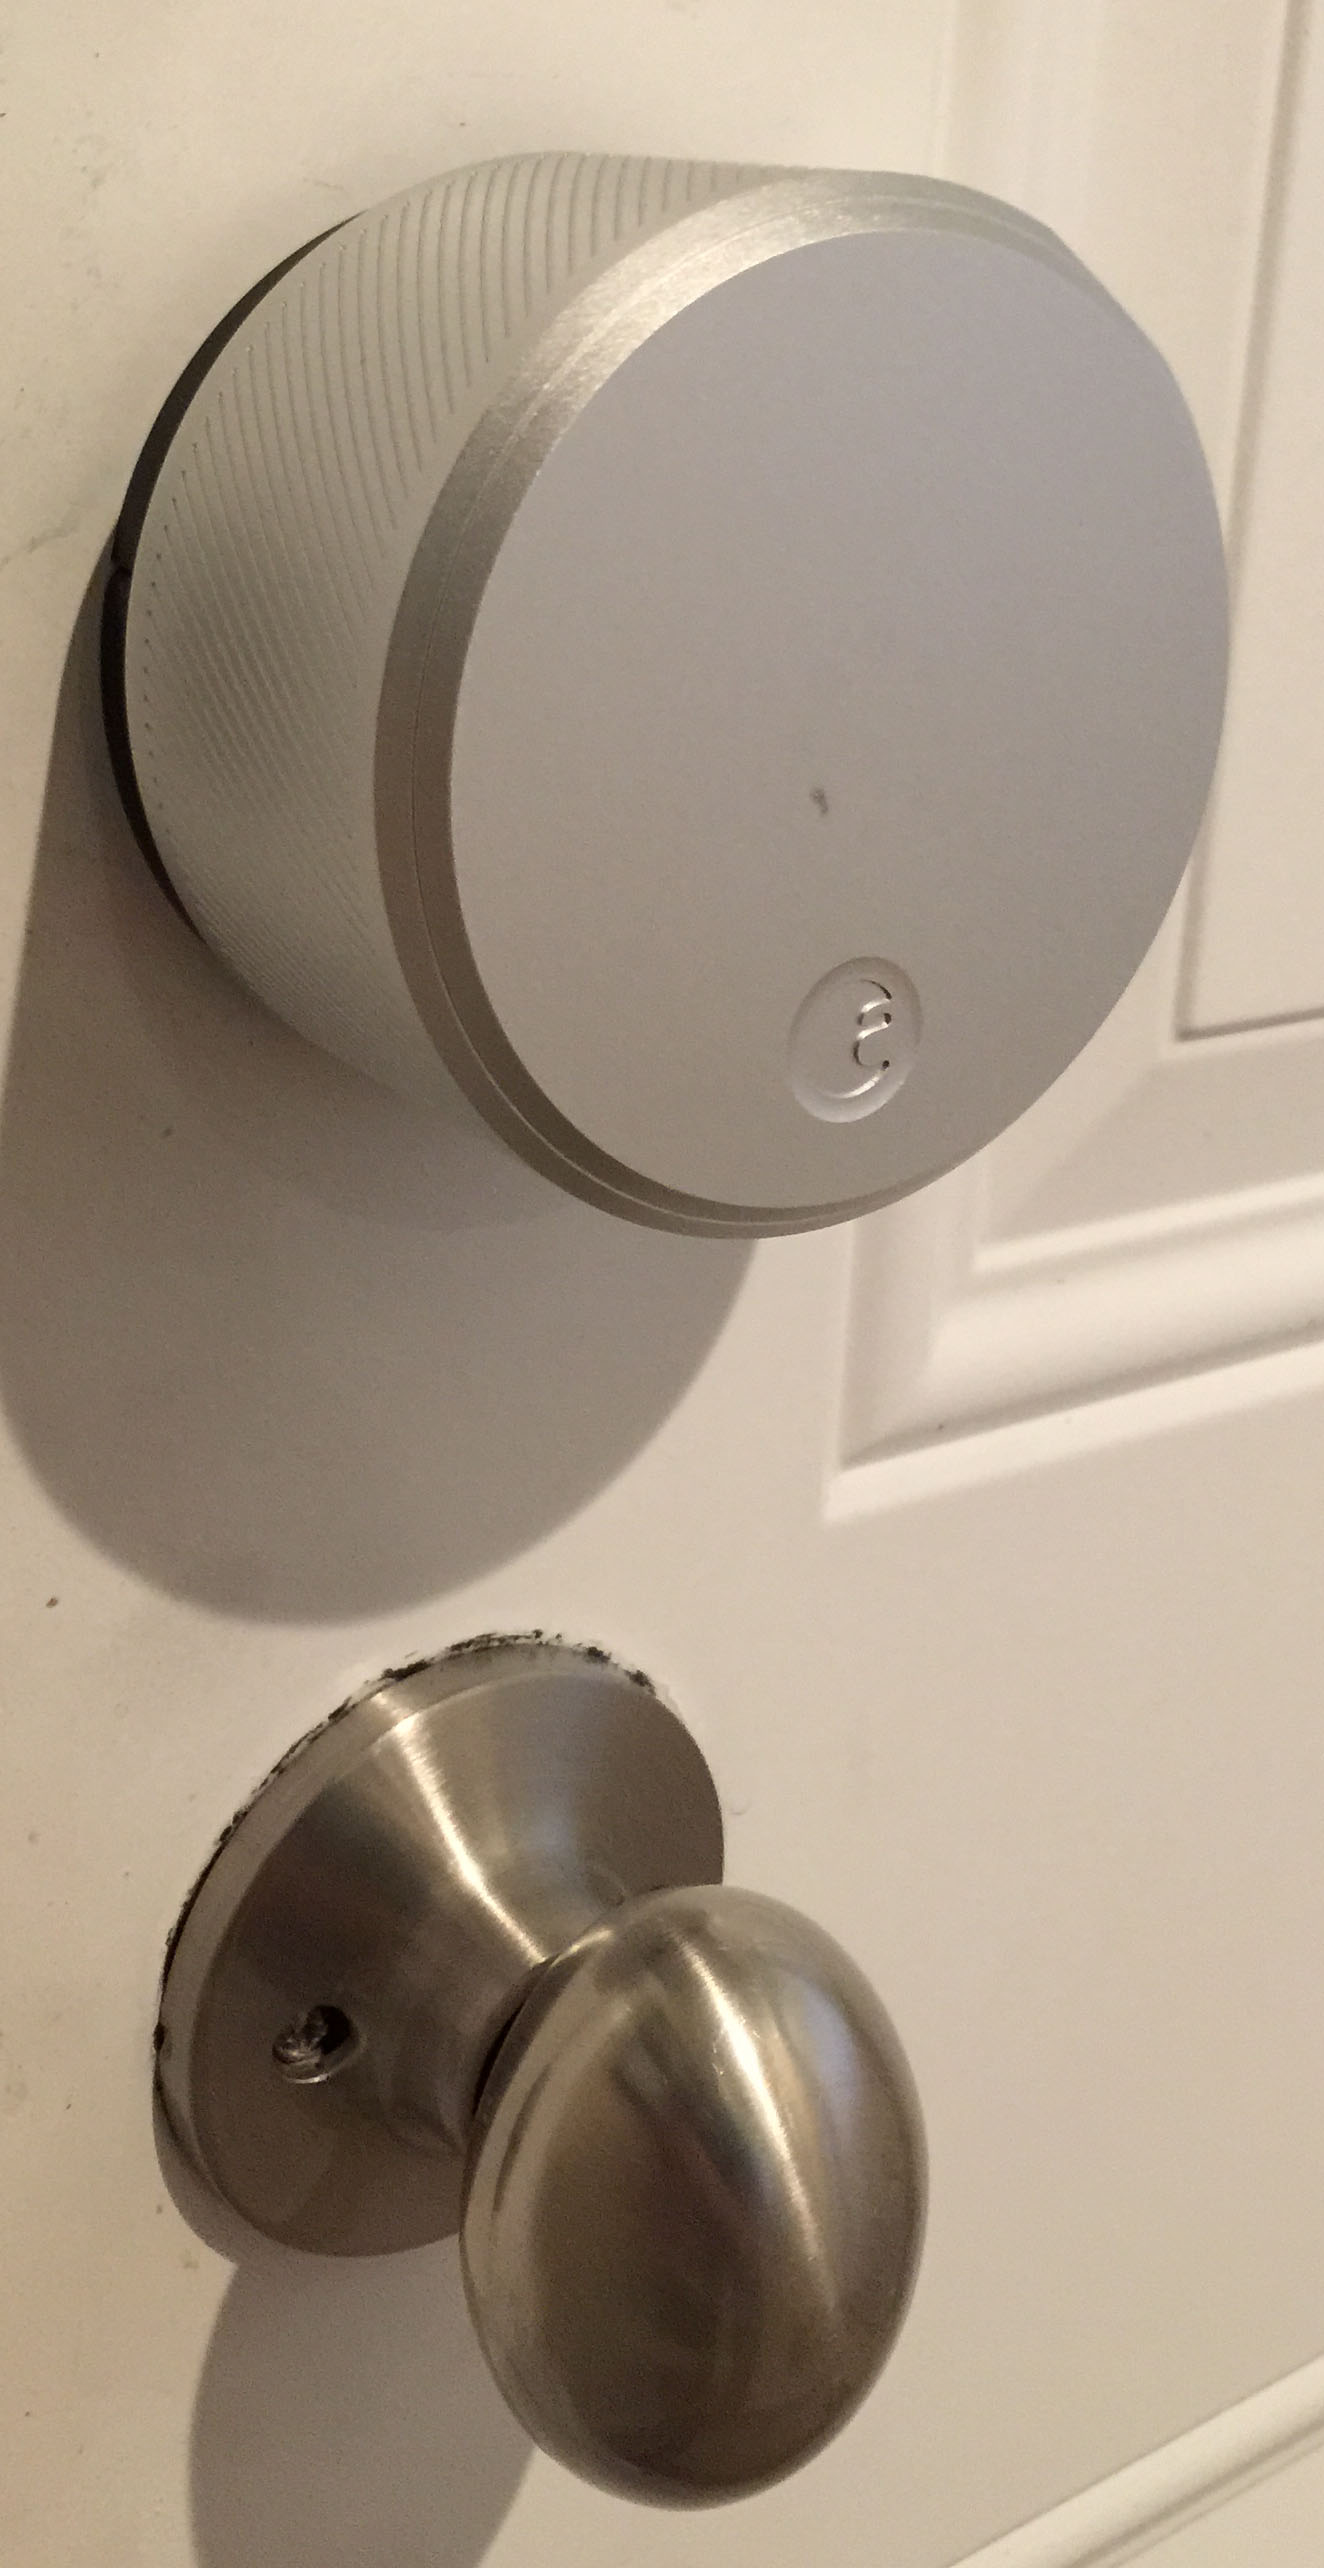
Standard Focusing Mechanism
The focusing mechanism that comes standard with the Celestron CPC 1100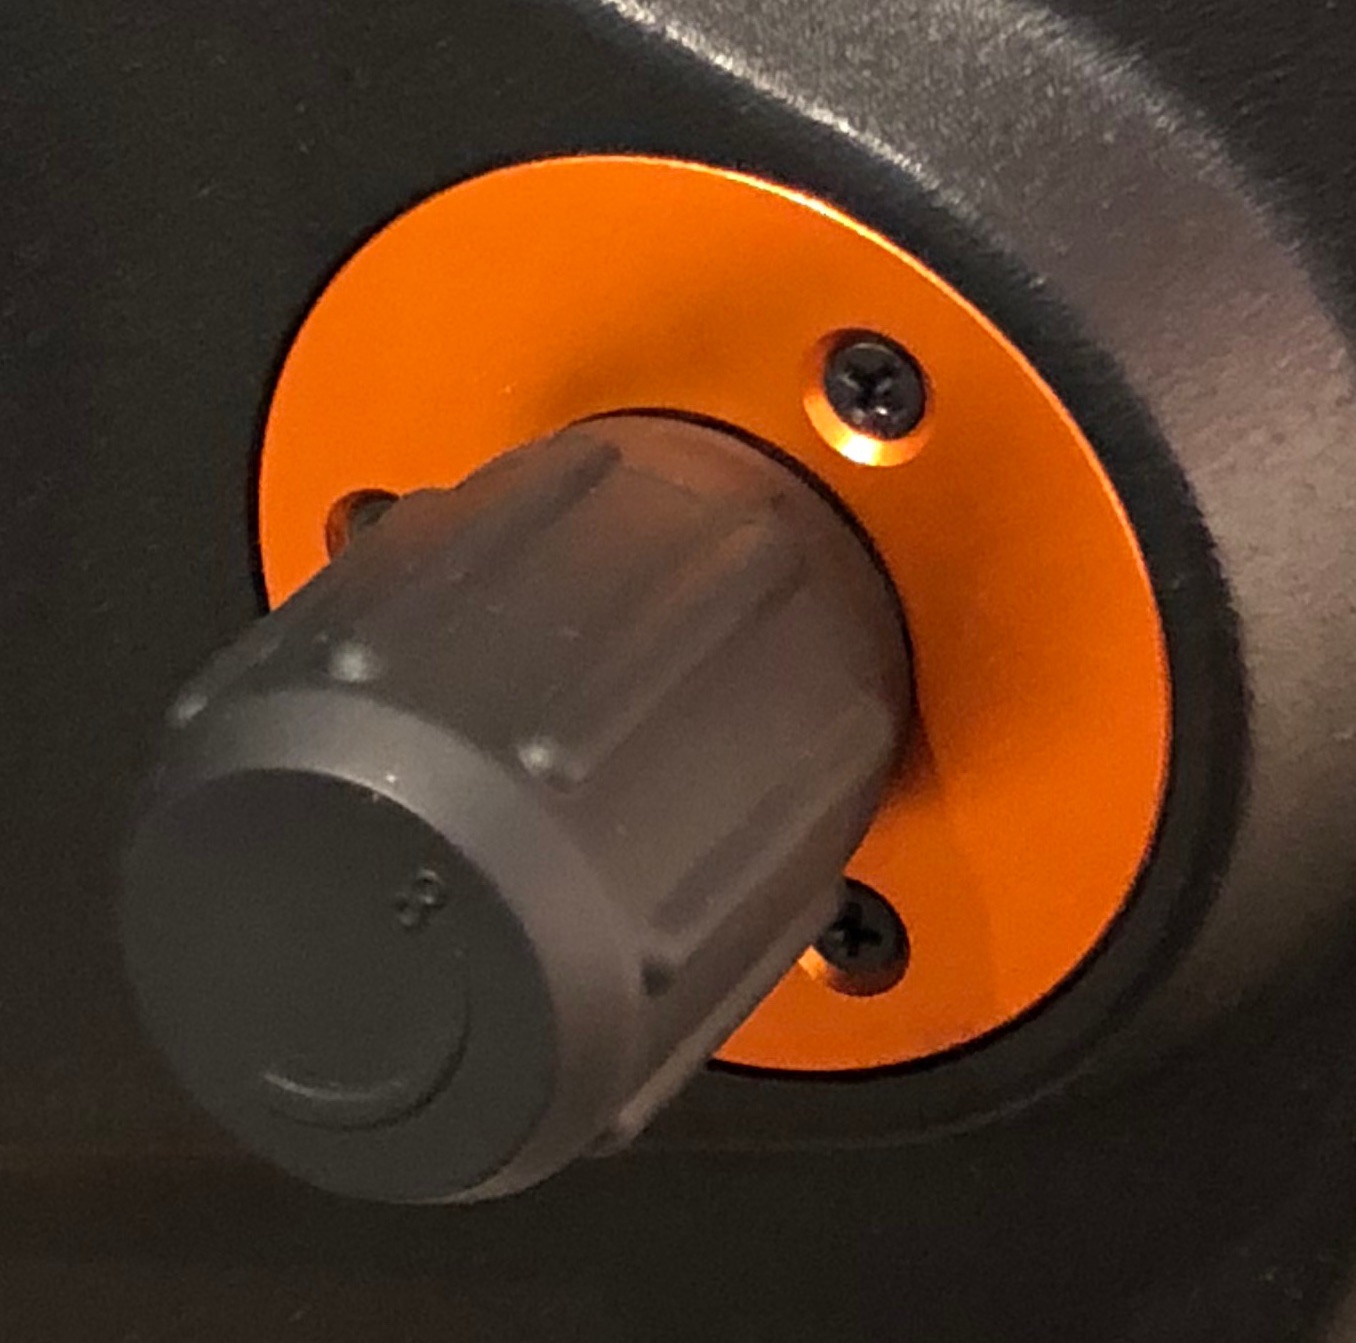 is illustrated to the right. As the focus knob is rotated, the focuser either pushes or pulls a threaded rod, that is connected to the primary mirror, in or out.
The rod and the focuser have a thread pitch of approximately 0.8 threads per millimeter. In other words, each rotation of the knob moves the primary mirror in or out 0.8mm, or 800 microns.
In ideal seeing conditions, with this telescope in the f/10 configuration, we have a depth of focus of 263 microns. So the entire depth of focus can be traversed with just under 1/3 of a turn of the focus knob. With degraded, but great, seeing conditions where the seeing disk is 2″ in diameter, the depth of focus increases to 542 microns, or 2/3 of a turn of the focus knob. It seems reasonable to expect, and experience has demonstrated, that achieving focus with these constraints is straightforward.
However, when this system is configured to operate at f/2 the depth of focus under ideal conditions is reduced to just 10.5 microns. Even with a seeing disk of 2″ the depth of focus is only 21 microns. The entire depth of focus is traversed with 1/78 and 1/38 of a turn of the focus knob respectively. These are very tight tolerances that would make achieving focus very difficult.
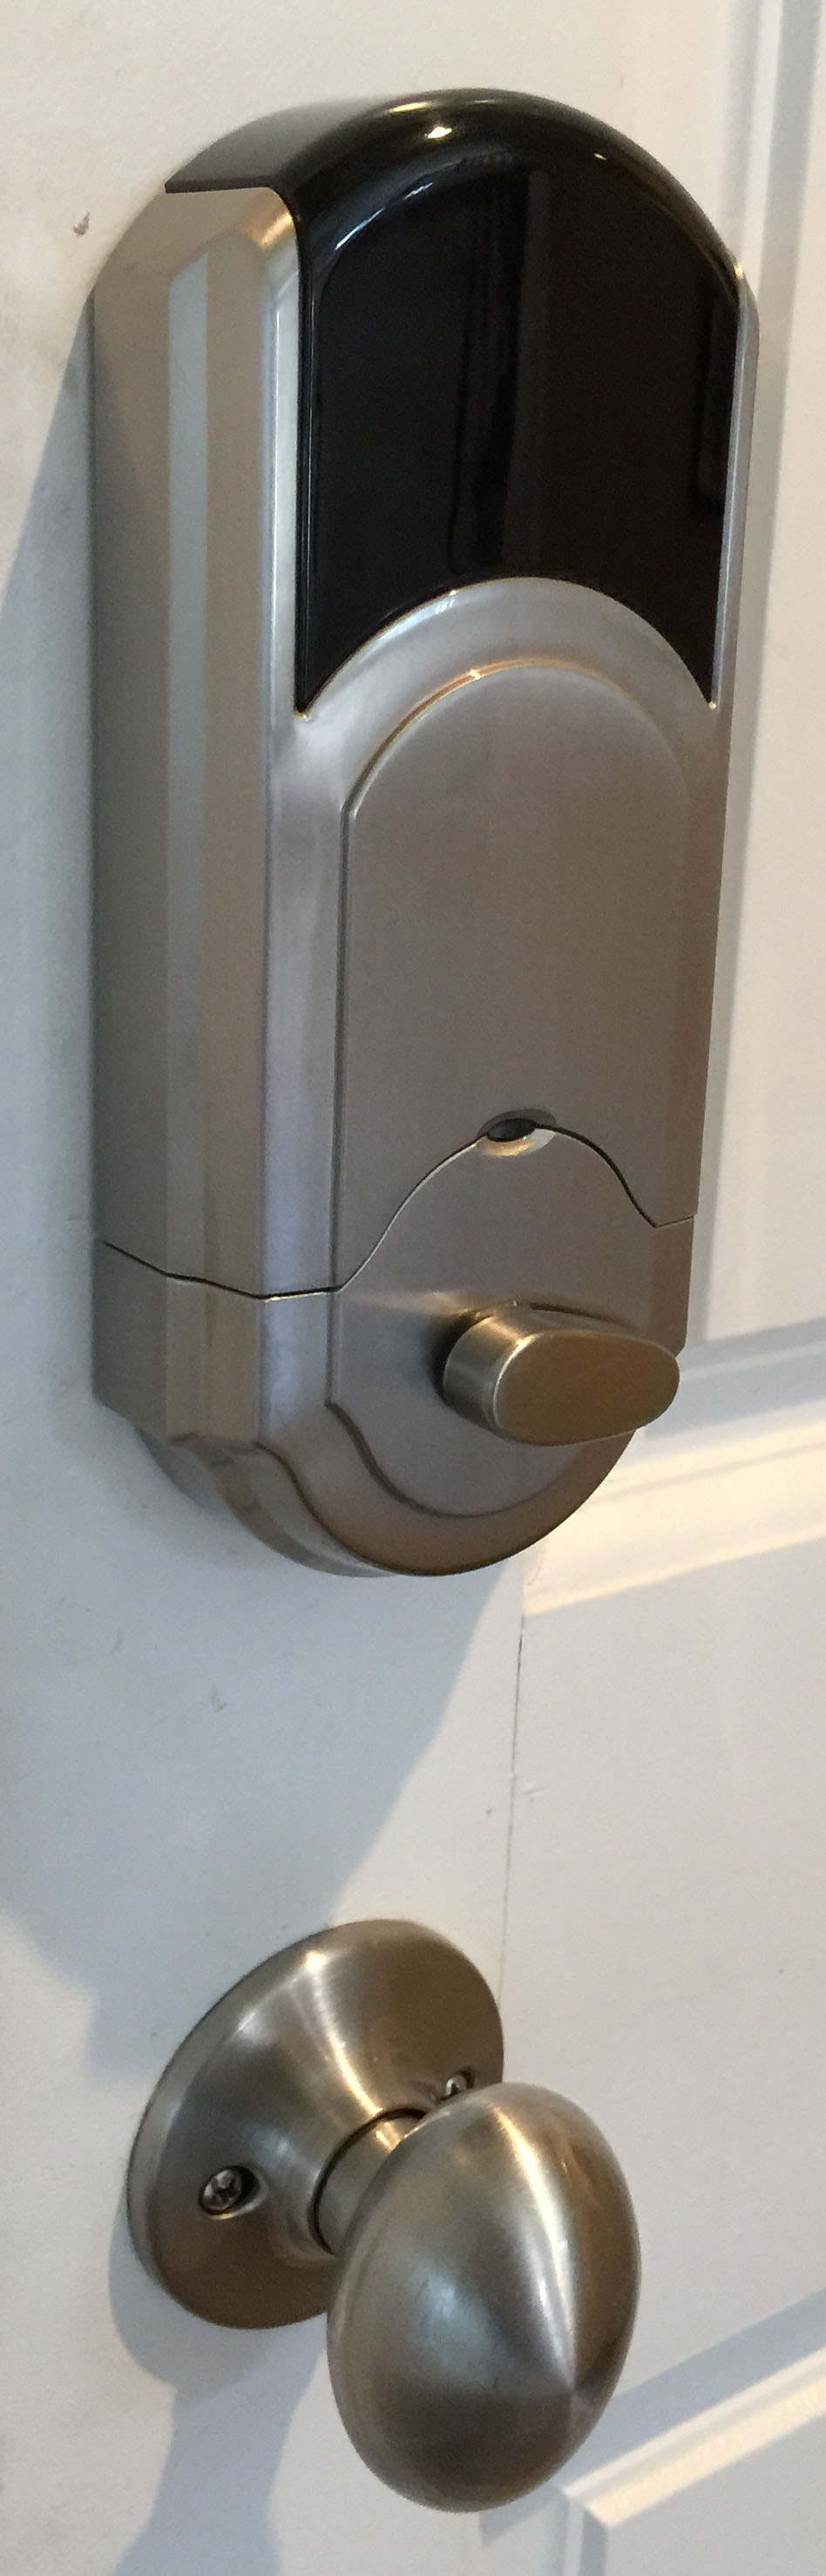
Feather Touch 10:1
After some investigation, I decided to try and solve the focussing problem, identified in the previous section, by acquiring and installing a Feather Touch 10:1 focuser for the CPC 1100. This focuser has dual speeds, a 1:1 ratio focusing knob, black in the image, and a brass colored 10:1 ratio knob.
Recall from the previous section that our challenge is to focus a system with a depth of focus of 10.5 microns in ideal conditions and 21 microns in the best likely conditions. At a 1:1 ratio the entire depth of focus is traversed in 1/78 and 1/38 of a turn of the focus knob respectively. With a 10:1 ratio these tolerances increase to 1/8 and 1/4 of a turn respectively. While these are still tight tolerances, I believe focus will be obtainable.
In the next section I’ll quickly walk through the installation of this focuser. It was fairly straightforward and required few tools.
Installation
In this section we’ll walk through the installation of the Feather Touch 10:1 focuser for the Celestron CPC 1100 GPS telescope. There were three items in the box: the focuser, a stop and a small washer. The installation requires the reuse of four screws associated with the standard Celestron focuser. You’ll need a 1/2 inch open end wrench and a medium sized Phillips-head screwdriver.
The first task is to position the CPC 1100 in a horizontal position, altitude of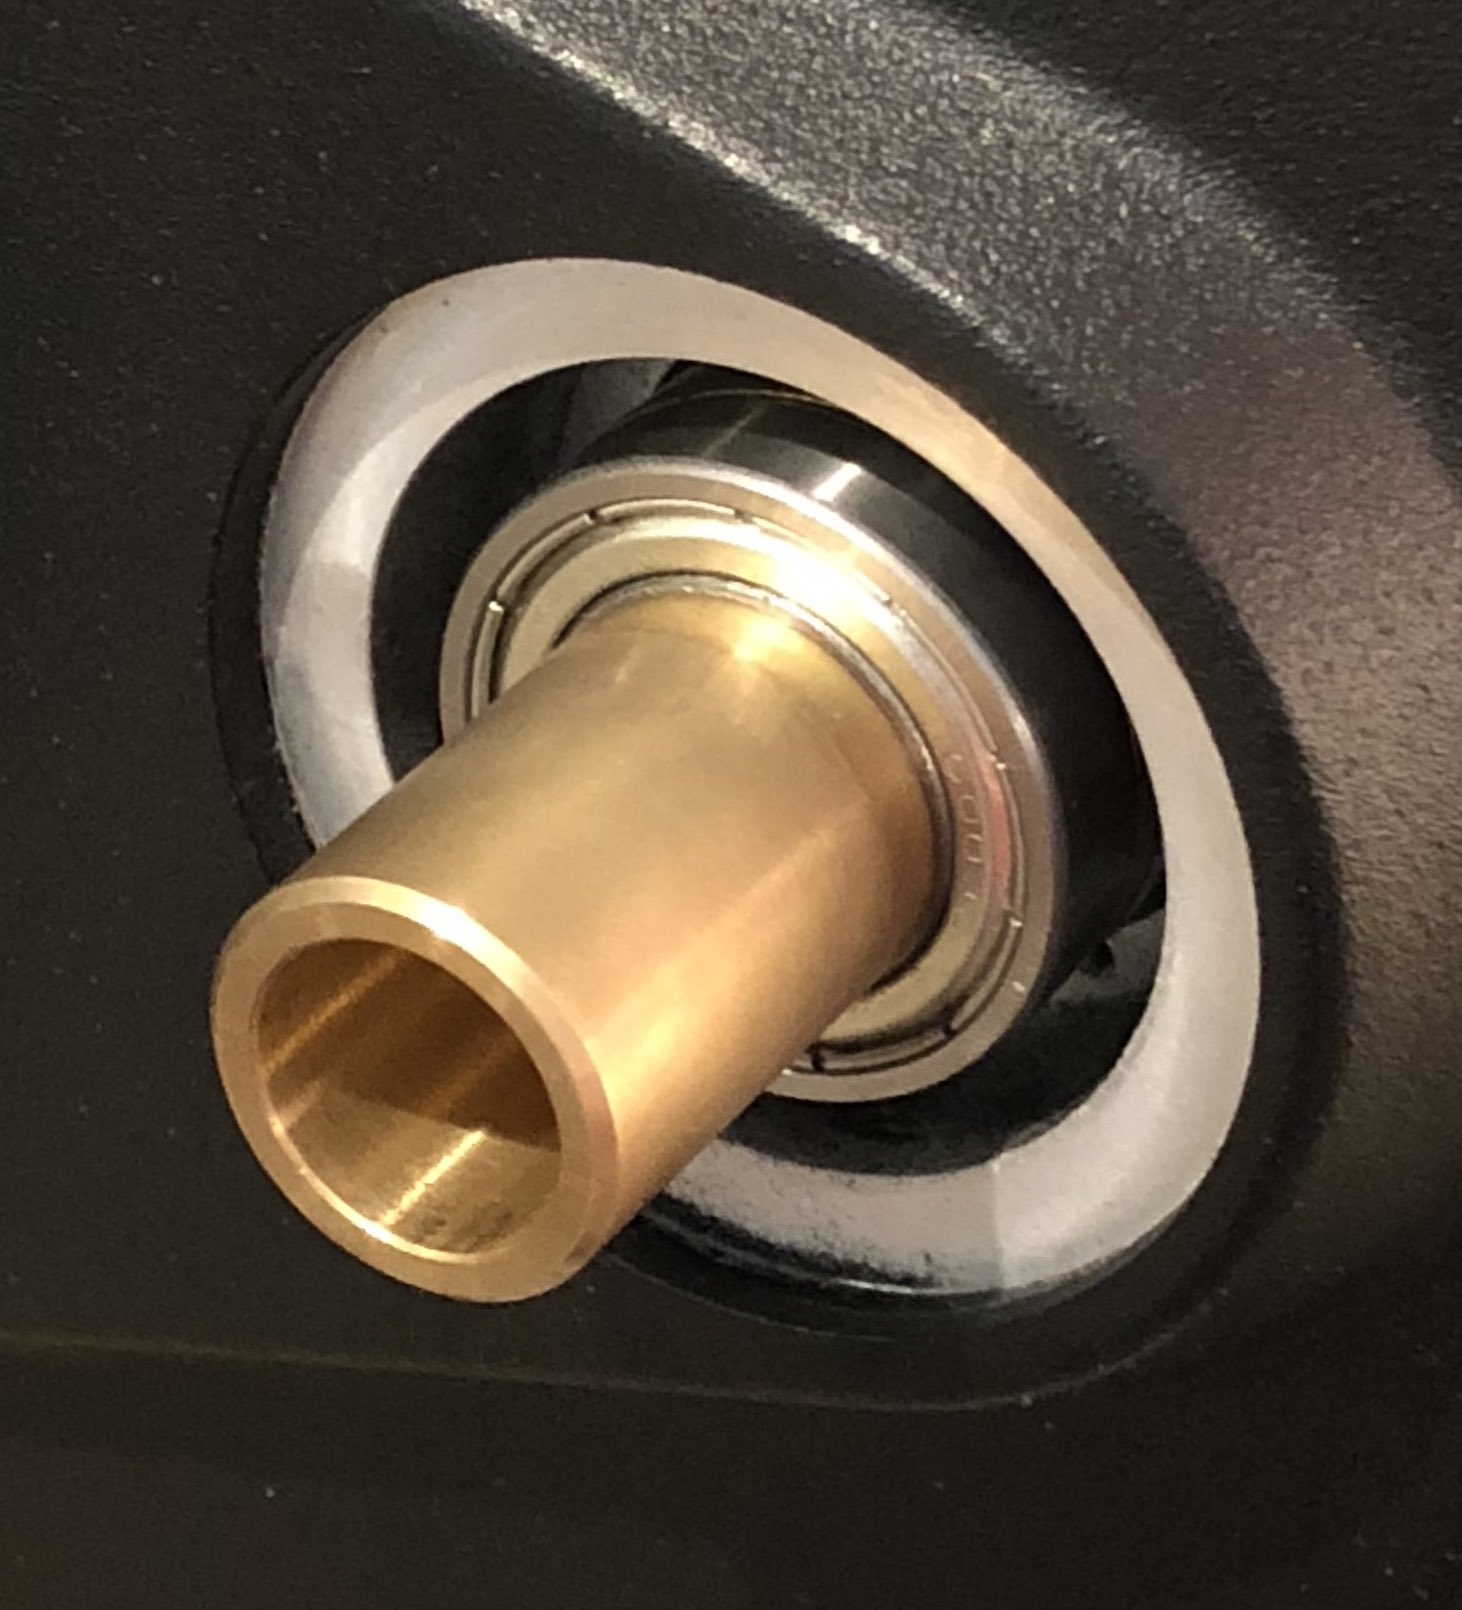 0°, so the primary mirror does not move during installation. Then we turn to removing the standard focuser. After pulling the rubber knob straight off and removing the three visible screws holding the focuser to the rear of the telescope, we have something that looks like the image to the right. Hang on to the three screws as they will be used to install the new focusing mechanism.
You must now rotate the brass focussing assembly clockwise until you see the head of the Phillips-head screw hidden inside. It takes quite a few turns to move the mirror back and the screw head never emerges from the hole, but does become easily accessible. When you’ve removed the screw, remove the small washer and replace it with the new washer that came with the Feather Touch focuser. Retain this screw as it will be reinstalled shortly.
Now the brass assembly needs to be removed. Rotate it in a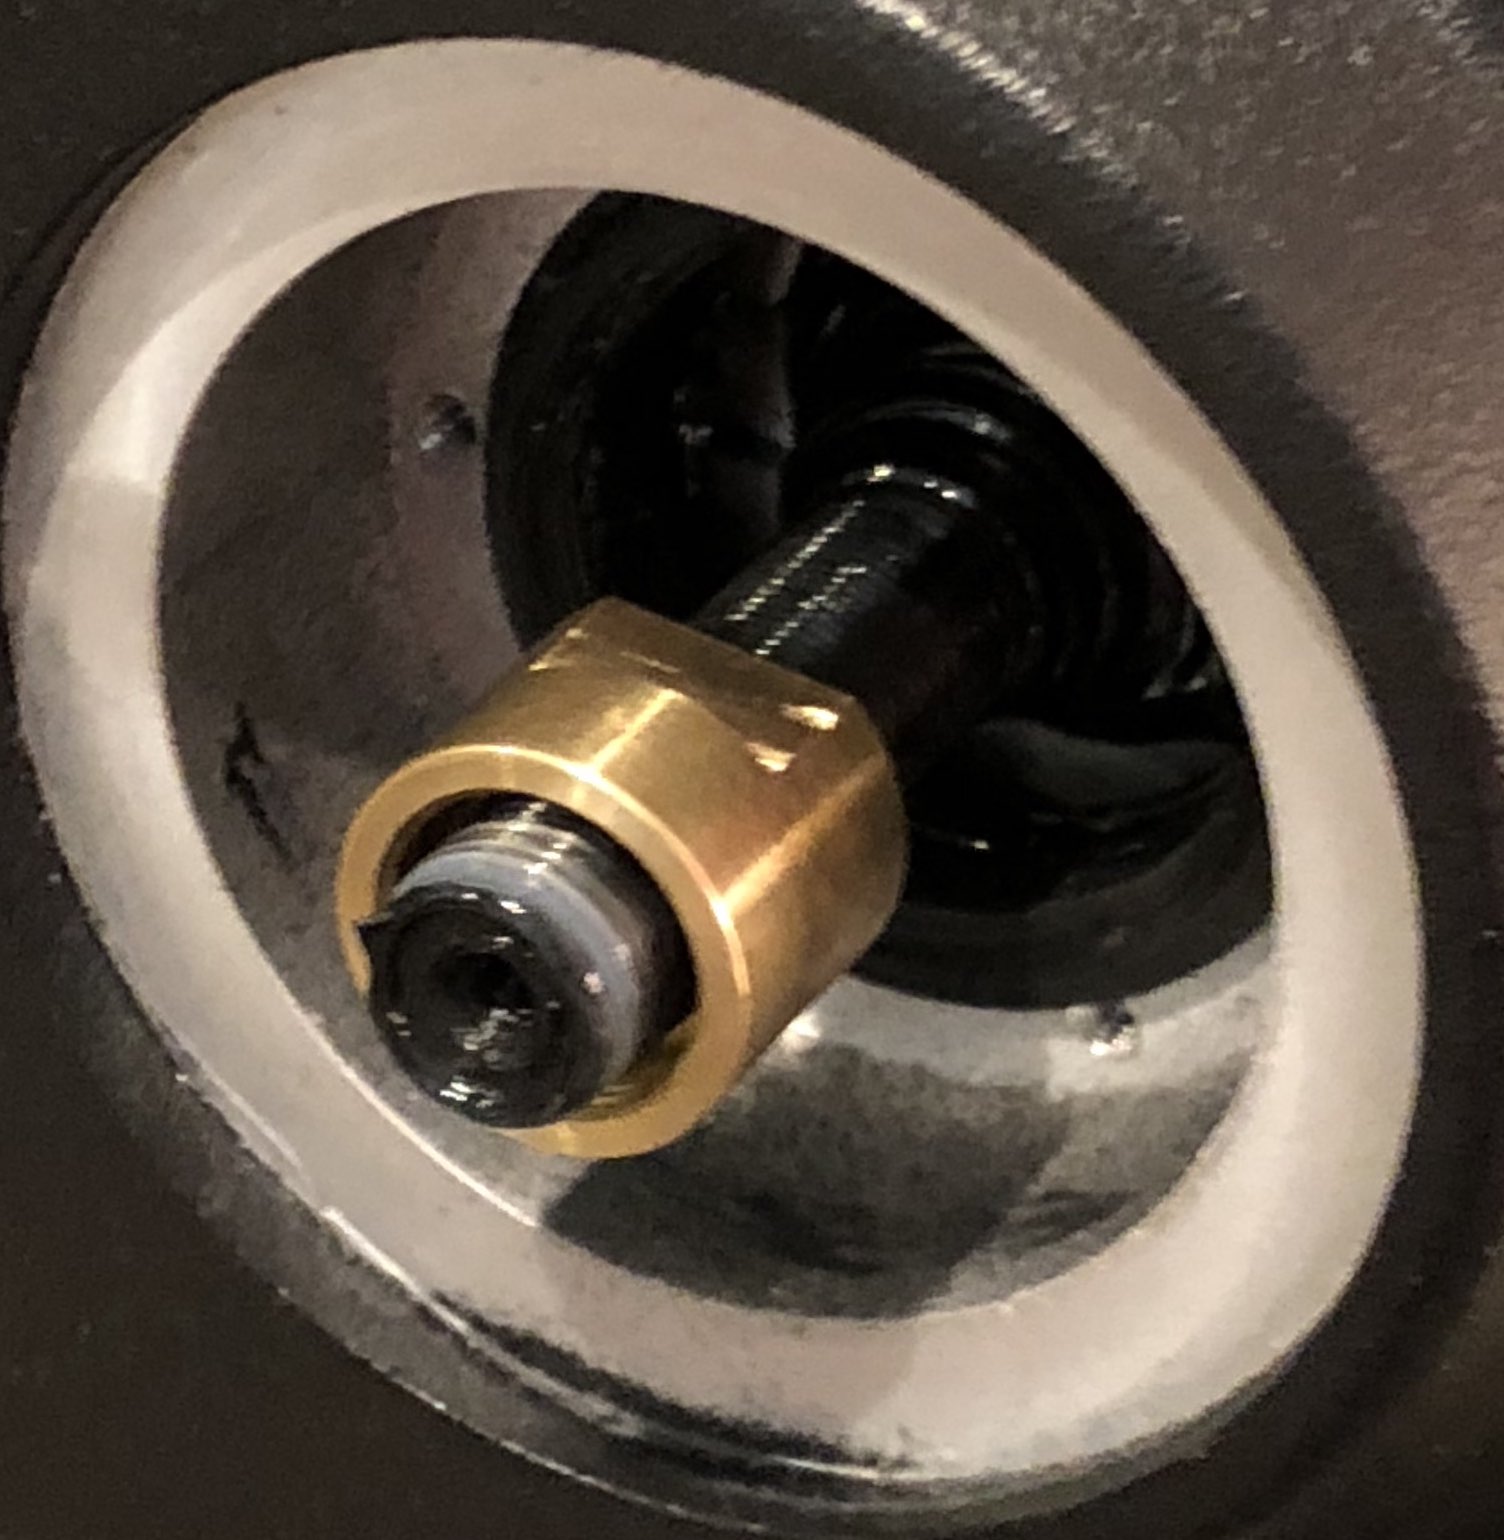 counterclockwise direction until it is detached. It takes quite a few turns to free it. When it is removed, take the stop off of the new focuser and thread it onto the threaded shaft far enough that a few threads of the shaft are exposed. At this point it looks something like the image to the right.
Now reinstall the screw, with its new washer, into the end of the threaded rod. Screw the Feather Touch focuser onto the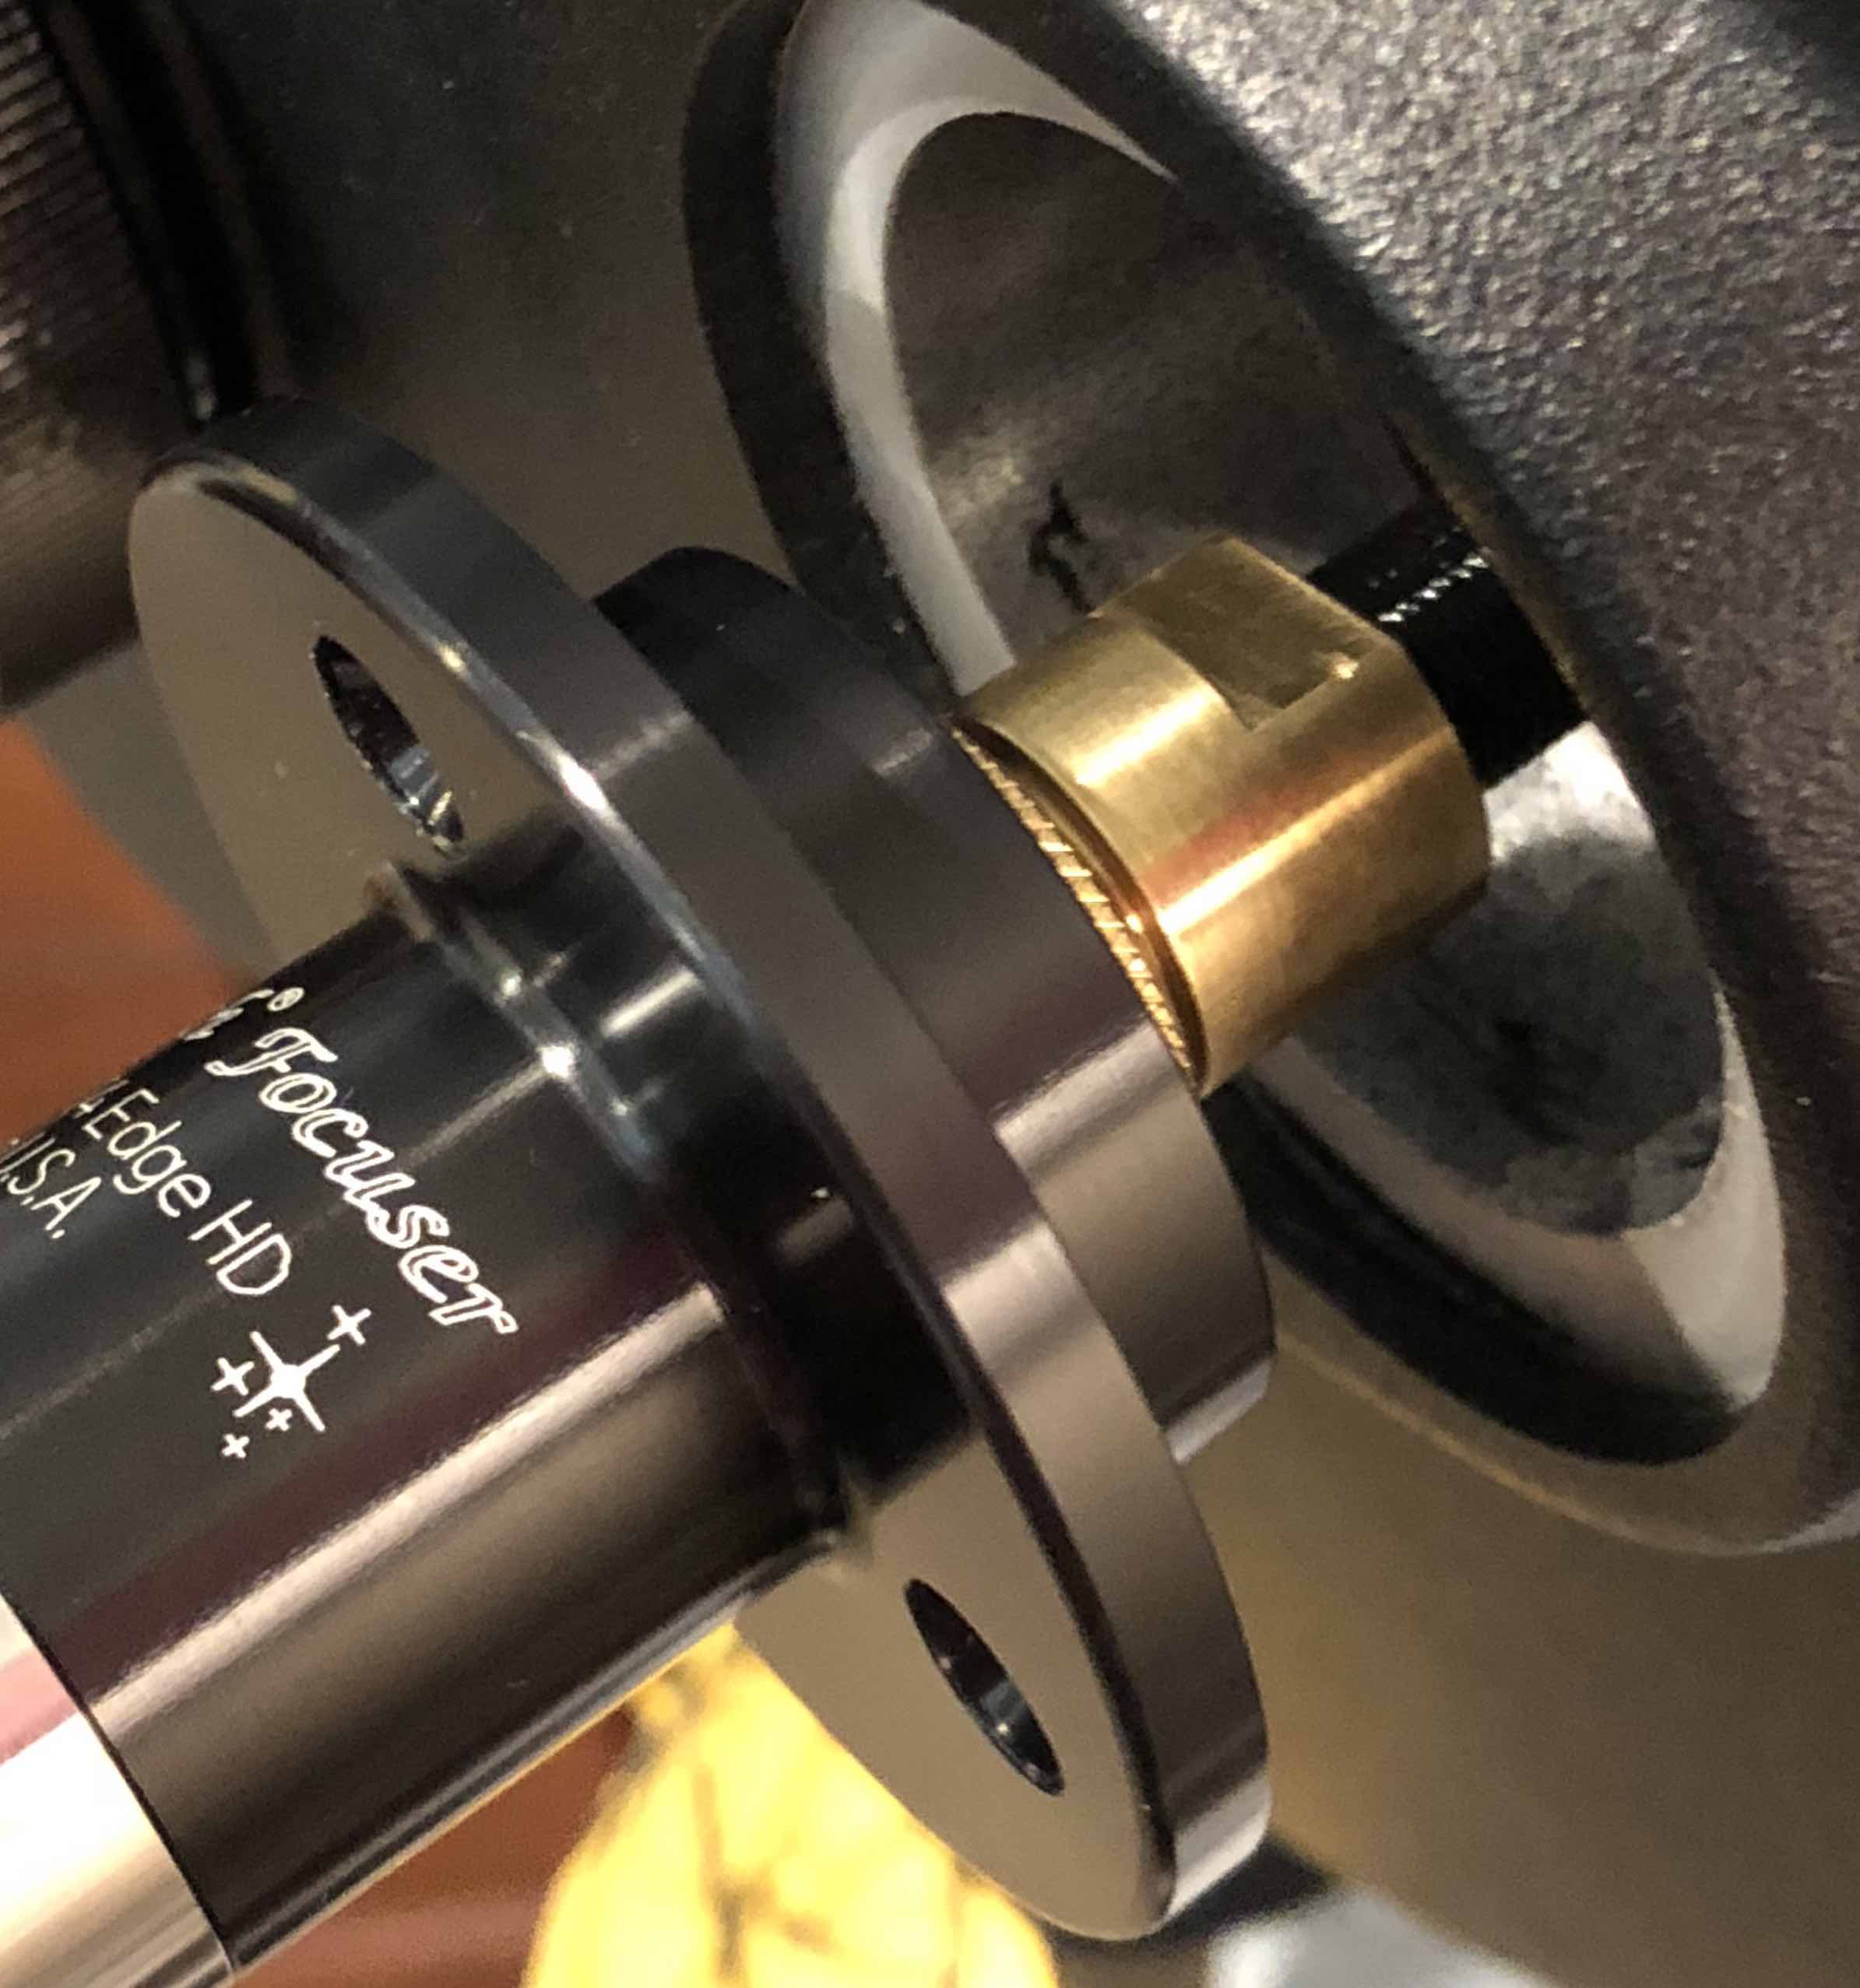 exposed threads of the rod until it reaches the stop. Hold the stop with a 1/2 inch open end wrench and tighten the focuser against the stop. You can grasp the focuser easily by the 1:1 ratio focus knob. This must be tight!
Now rotate the focuser down the rod until its mounting plate is flush against the back of the telescope. It may be necessary to push the mirror slightly forward to get the Feather Touch to seat properly. Reinstall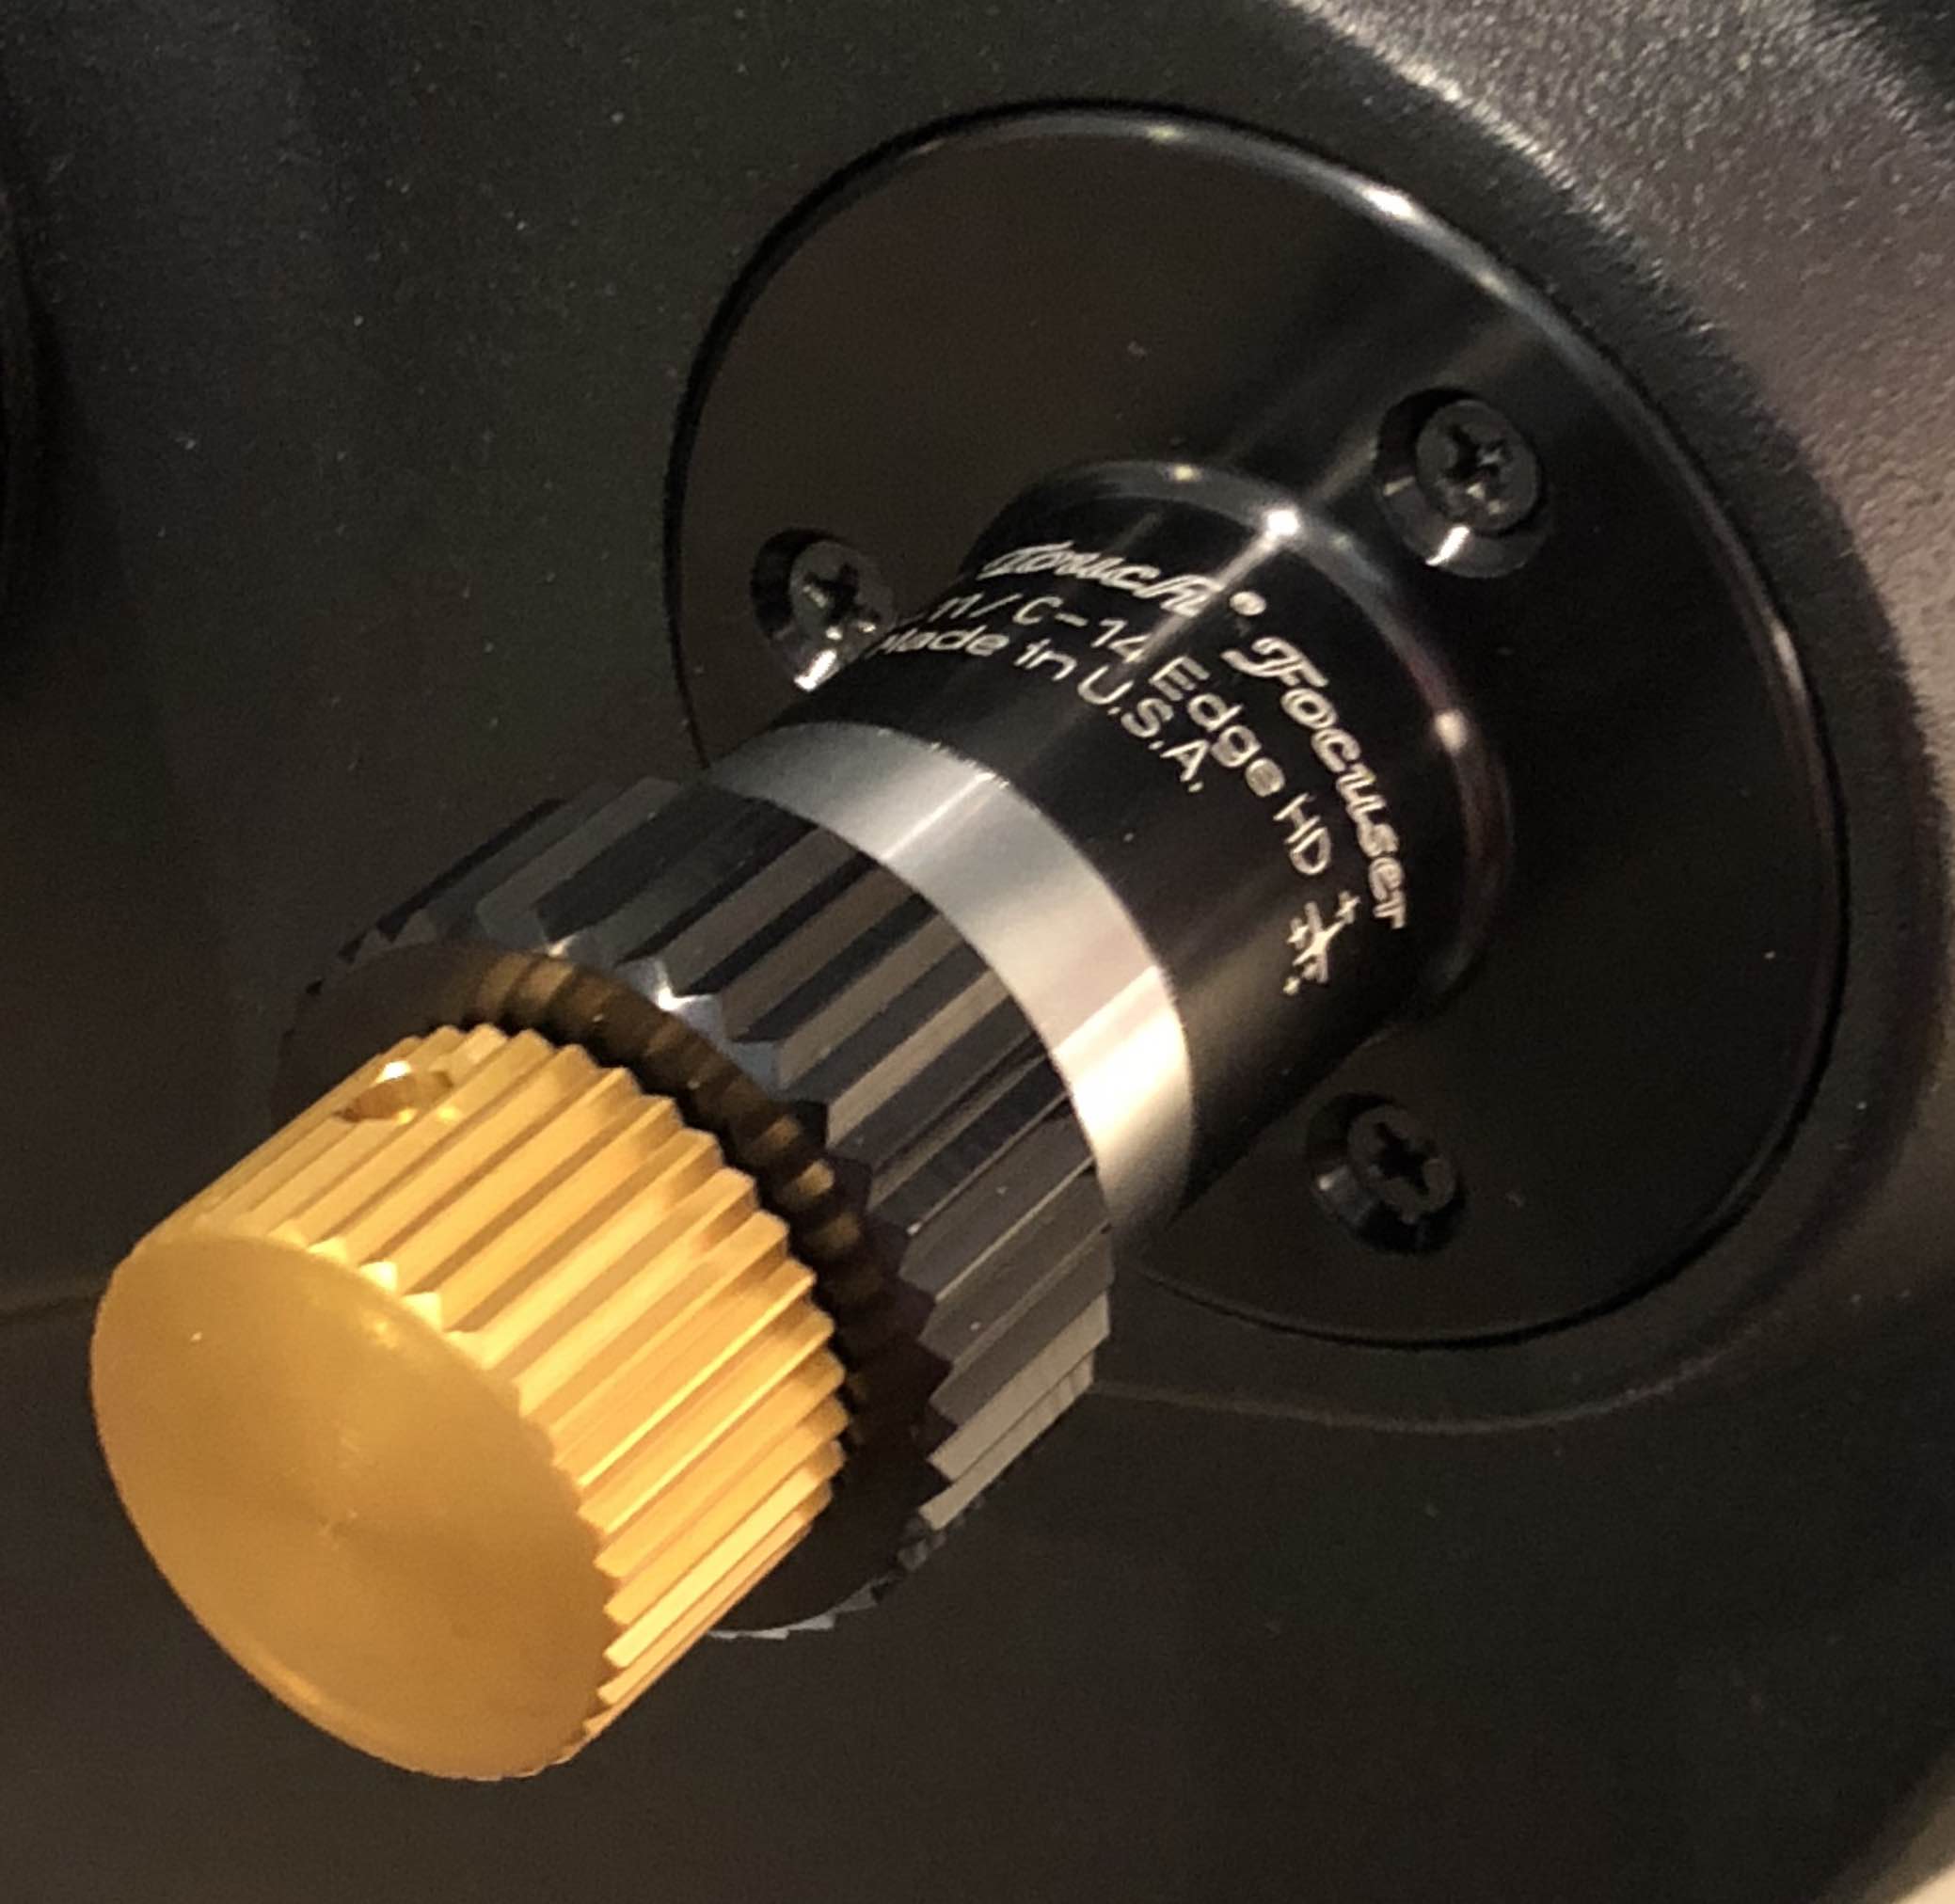 the three screws retained earlier, and you’re done. The finished product is illustrated to the right.
Now you are ready to focus normally with the black knob and with precision with the 10:1 ratio brass knob.
Summary
In this document we presented the depth of focus for various f-numbers and determined that focusing fast optical systems is problematic. Finally we presented a solution and described its installation.